hey wow...it has been a long time since i did a friday DIY. if you have followed me for a while you know i love the free people brand, however, cannot afford the Free People brand.
therefore, i am left to make the things i like myself.
today i bring you the Free People inspired Double Pom Pom Beanie.
how cute is that!? it looks like little fluffy ears. Click here for the original
double pom poms across the sky...err sorry getting carried away.
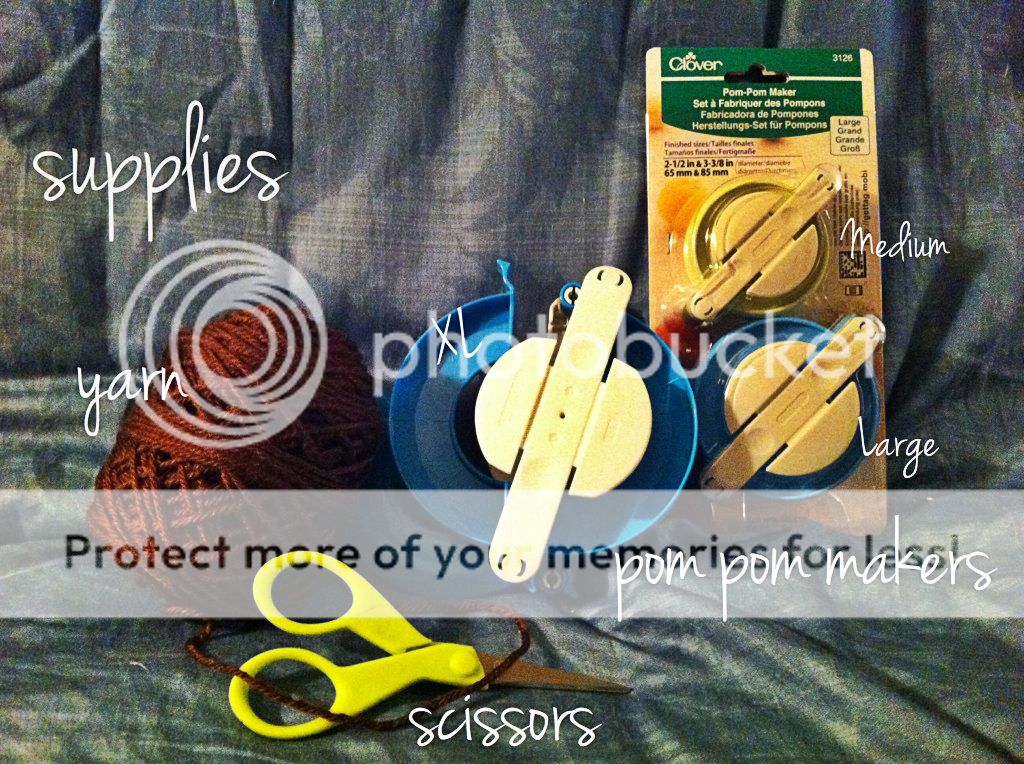
Supplies: Pom Pom makers (I prefer Clover brand found here or at local hobby stores), yarn, scissors, and a premade beanie (not pictured)
You can use any beanie you have laying around or you can make one (patterns for crochet and knitted).
Step 1 - Make your pom poms with a yarn that matches your beanie...or not. I didnt photograph this step because depending on your pom pom maker it will be different....just follow the directions on the package. i used the XL for mine - size is up to you
Step 2 - When you tie off your pom poms be sure to leave your tails long (about 6-8inches)
Step 3 - poke your tails through the top of the beanie...you may need to use a crochet hook or yarn needle to get it through the knit. my beanie was pretty loosely knit so i could just pick the tails through with my fingers. your tails should now be on the inside of the beanie.
the spacing is up to you!
Step 4 - Tie your tails together or secure to the beanie in some way. if you knot them together they are only pulling on each other, not the knit of your beanie. In the picture below you can see i tied the tails into a bow.....that way i can take them off whenever i dont want them there.
Step 5 - adjust as needed. Do you need to move them forward or backwards on the hat? Move them closer together or further apart? You decide.
I know this tutorial has been alittle slap-dash, but i wanted to show you something cute that can you can do quick over the weekend.
A few suggestions:
→Use a snug fitting beanie...the one i used here is very loose and floppy...not as awesome as it could be
→Make your pom poms as full as possible. The XL pom pom maker that I used takes forever to fill up....and lots of yarn!! I got impatient so they arent as full as i'd like.
→Another tip that my mom taught me is to use waxed dental floss to tie them up with (the knot wont slip as easily) you can always tie a yarn tail to it before you take the pom maker apart.
Enjoy!! I would love to see how yours comes out.


