Friday, November 9, 2012

Friday DIY - Free People Inspired Double Pom Pom Beanie

hey wow...it has been a long time since i did a friday DIY.  if you have followed me for a while you know i love the free people brand, however, cannot afford the Free People brand. 
therefore, i am left to make the things i like myself.
today i bring you the Free People inspired Double Pom Pom Beanie.
how cute is that!? it looks like little fluffy ears.  Click here for the original
double pom poms across the sky...err sorry getting carried away.
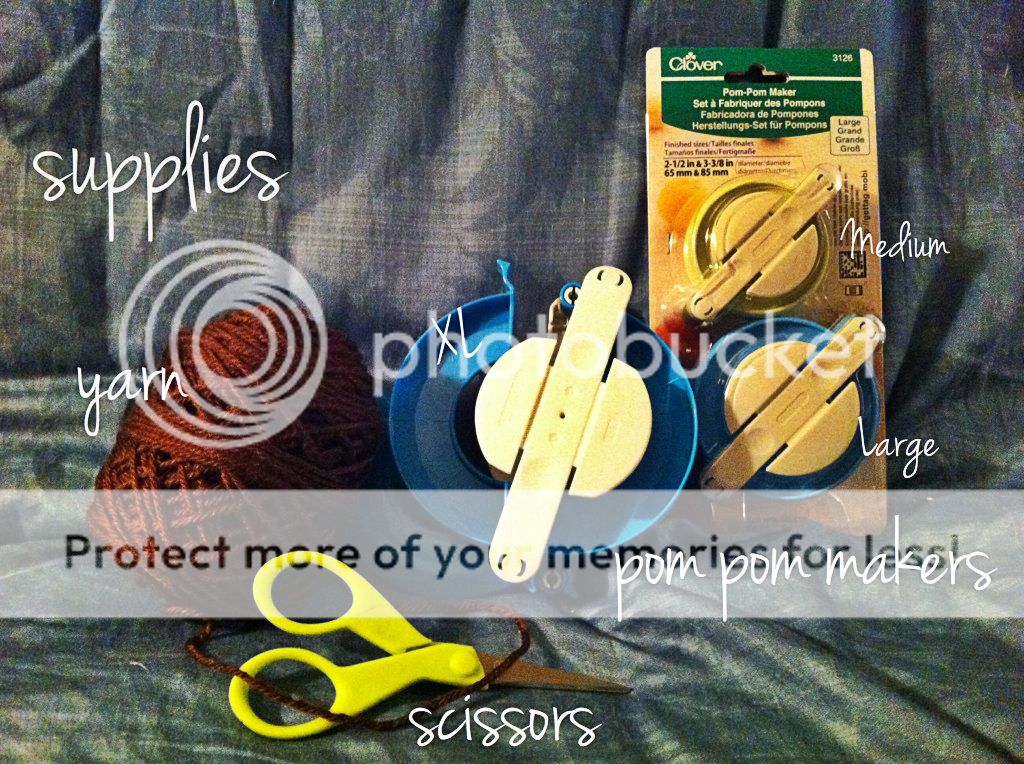
Supplies:  Pom Pom makers (I prefer Clover brand found here or at local hobby stores), yarn, scissors, and a premade beanie (not pictured)

You can use any beanie you have laying around or you can make one (patterns for crochet and knitted).

Step 1 - Make your pom poms with a yarn that matches your beanie...or not.  I didnt photograph this step because depending on your pom pom maker it will be different....just follow the directions on the package. i used the XL for mine - size is up to you
Step 2 - When you tie off your pom poms be sure to leave your tails long (about 6-8inches)
Step 3 - poke your tails through the top of the beanie...you may need to use a crochet hook or yarn needle to get it through the knit.  my beanie was pretty loosely knit so i could just pick the tails through with my fingers.  your tails should now be on the inside of the beanie. 
the spacing is up to you!
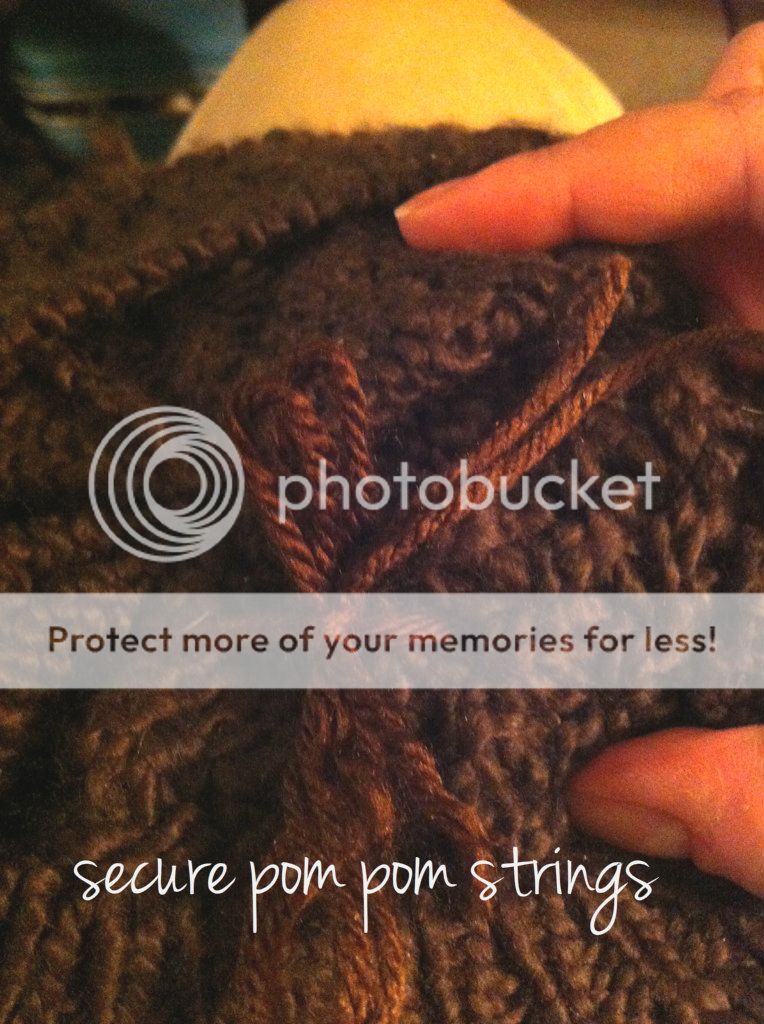
Step 4 - Tie your tails together or secure to the beanie in some way.  if you knot them together they are only pulling on each other, not the knit of your beanie.  In the picture below you can see i tied the tails into a bow.....that way i can take them off whenever i dont want them there.
Step 5 - adjust as needed.  Do you need to move them forward or backwards on the hat?  Move them closer together or further apart?  You decide.

I know this tutorial has been alittle slap-dash, but i wanted to show you something cute that can you can do quick over the weekend. 
 A few suggestions:
→Use a snug fitting beanie...the one i used here is very loose and floppy...not as awesome as it could be
→Make your pom poms as full as possible.  The XL pom pom maker that I used takes forever to fill up....and lots of yarn!!  I got impatient so they arent as full as i'd like. 
→Another tip that my mom taught me is to use waxed dental floss to tie them up with (the knot wont slip as easily) you can always tie a yarn tail to it before you take the pom maker apart.

Enjoy!!  I would love to see how yours comes out.

Monday, October 1, 2012

Mani Monday

new segment!  I have become slightly obsessed with nail stamping.  yes....yes i have.
(*i feel husbands eyes rolling as i type)
since i usually change my polish on sunday's, so they are fresh to start the week, i have decided to start doing a mani monday segment.
this week i have two to share.  I did a special mani in celebration of a sweet little girl and her 2nd bday party (if you follow my instagram @ezzimcgee you would have seen the cake i did for her).  she loves the color purple and butterflies....so thats what i did.
I used Sally Hansen "Instant Iris" for the base color.  A purple holo from Milani...sorry dont remember the name...on my ring fingers.  Sally Hansen "Silver Sweep" to stamp with using the BM-307 plate (from the 2012 set).  FYI for you stampers out there "Silver Sweep" is awesome to stamp with - full opacity on dark colors including black.
Last night i decided to change it up for the week and I used Hard Candy's "Beetle" as a base color.  This color is really neat...the name describes it all.  Its a shimmery duelchrome with a black base....in different light and angles you get purple, red, gold and a green black color....hard to capture on my camera.  I stamped over it with Revlon's "24k" using Cheeky 2012 summer plates CH-52.  As you can see this is a good non "special polish" in gold that works great on dark and light colors.
I purchased my plates on Amazon (just search "nail plates").  if you are interested in watching videos i really like "plasmaspeedo" videos on YouTube.

if you want to see more manicure ive done...or possibly ones i wont get around to posting here head on over to my instagram - @ezzimcgee


Tuesday, September 25, 2012

now playing:tuesday - No Doubt

No Doubt - Push and Shove
Today i thought i would talk about the new No Doubt album, Push and Shove.
I have been a fan of No Doubt since their ska days....man i miss those dayz. 
Tragic Kingdom will always have that special place in my heart....i almost wore out my tape...yes tape!  I had Tragic Kingdom on cassette tape (sad my kids will never fully understand what that means).
from my instagram this morning (@ezzimcgee)
Moving on, Push and Shove, for lack of a better description, is POP.  No big surprise seeing as though the last few albums, including solo work, have been rather pop-y.  This album is the lady gaga, madonna, katy perry kinda pop.  *sigh. 
That being said, i still like the album.  Yes it's different, far from the ska style i long to hear from them again, but a fun album nonetheless.  If you are looking for a good album to bop along to while running/working out, driving, etc this is it.  It's very upbeat and has a constant tempo throughout the album (important if you run to it).  It definately makes you want to move your body....very dance-y.  I still love her voice and the band.  Everytime i hear they are coming out with something new i get my hopes up for a old skool ska roots type of album....and then get let down...pop.  I'll take it but i may not be happy about it.
If you aren't sure (no doubt my review put a seed of doubt in your head) give it a test-drive on iTunes.  The deluxe edition was around $14 with a extra mixes of "Settle Down" and acoustic versions.  Let me know what you think.

Monday, September 24, 2012

nail-ventures

its no secret that i love nail polish.  i have a small collection in comparison to a lot of nail bloggers i follow...my hubs would disagree.
i have recently discovered nail stamping....i know i know i guess I've been living under a rock.
what is nail stamping you ask?  well....
2011 Bundle Monster Plates - available here
Cheeky Nail Plate #C - available here
...these are "nail plates" (minus the blue protective film).  They are metal plates with etchings on them in various designs that you put a swipe of nail polish on and scrape the extra off...pushing paint into the image in the process...then pick up the image with a soft rubber stamp.  You then quickly line up the stamp with your fingernail and stamp.
used Sally Hansen Insta-Dry in Pronto Purple and Silver Sweep
isn't that fun?!! it takes some getting use to and practice but its worth it. 
its a super easy way to turning a regular manicure into awesome manicure....and you can tell people "ya i did it myself...how awesome am i?"
if you want to see this done in real time i highly recommend you check out "Plasmaspeedo" on YouTube.  She has many videos that explain how to do stamping and shows differences between the different brands and images they have to offer.
you can also just search "nail plates" in amazon and look at everything...so much fun.
i definitely will be posting more "Nail-ventures" posts here.


Friday, August 17, 2012

Pin-tastic:food edition

today i thought i would share some of my current favorite food pins

1. the single serving microwave chocolate chip cookie
(original source)
(original source)
4. Red Lobster Cheedar Bay Biscuits
(original source)
 5. Nutella and Cool Whip pops
(original source)
I have made all of these recipes except for the Nutella/Cool Whip pops, but lets be real....how can Nutella and Cool Whip go wrong?  I made that cookie last night to share with the hubs....and let me tell ya...it was good (tip: get creative! add peanut butter chips, nutella, or just nuts).  That rice was awesome and if you make a lot at once you can eat off of it for a week.  Lets have a chat about those fake Cheedar Bay Biscuits for a min.
These biscuits....man...these biscuits are AMAZING! I may have eatten a couple straight out of the oven...molten hot and everything.  I have made this recipe a couple of times and would not change a thing.  They even warm up great (wrap in paper towel and nuke for 15-30sec). Tip: if you dont keep Biscuick in the house your store may sell the small pouches of Biscuick, which you need exactly 2.
Im always on the hunt for good recipies.  Follow my "Foodie Files" pin board for more yummy recipies!