
Ombre Prayer Flag Bunting
so this DIY is almost a full week late....or i guess you could look at it as a day early (since i usually do them on fridays)
 |
| pic from the Free People Blog |
if you follow my blog regularly you know i have mentioned that i like the brand Free People....mainly just for the pretty pictures on their blog, but if i could afford their clothes i would wear them all the time. i especially like their store design team....always something cool going up in their stores. so today's DIY is an inspired tutorial on how to make their current
prayer flag-ish displays

i decided to use some spare cotton muslin fabric i had used as temporary curtains and do a dip-dye (ombre) technique on the fabric strips. if you dont want to do any dying then you can cut up old clothes or t-shirts and skip ahead to the end.

1.) cut up your fabric...they dont have to be the same size.....just long enough to tie onto your clothes line and blow in the wind. i cut my fabric approx. 1"x10" ....some strips were skinny and some were fat and definitely not cut in straight lines. once they are cut soak them in warm water so your dye will bleed nicely
2.) mix your dyes according to the package instructions. i used the RIT powder dyes because it was cheaper and i was buying several colors. i used some big popcorn/utility bowls added the powder and hot water (*notice the trash bag underneath the bowls....it kept my kitchen counter very clean!) wear your gloves or your hands will be colorful for days!!
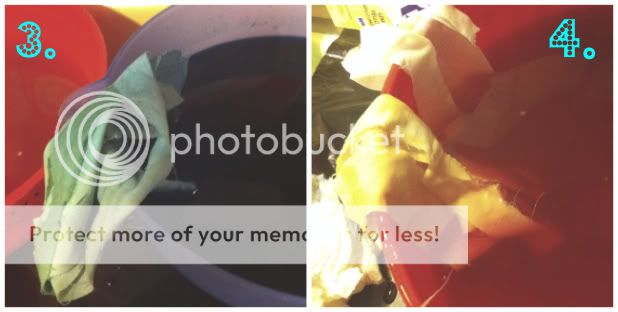
3.) gather a group of fabric strips and fold the whole bunch in half.
>if you want the ends of the strips to be the darker part of the ombre effect - submerge them about halfway in the dye and let the rest (folded part) hang over the side of the bowl. since they are wet they sort of cling and hold themselves in place, but if they fall in then fine....its not supposed to be super perfect.....imperfection is beautiful. this is the basic ombre technique.
>if you want a two-tone ombre effect - submerge the whole cluster of fabric strips in your lighter color (ex. green) and leave til you get your desired color saturation. then submerge only the ends in the darker color (ex. blue). since the fabric is wet the colors will blend nicely!
4.) mix it up!! play with different colors and combinations. make some lighter and some darker. its your call....have fun with it
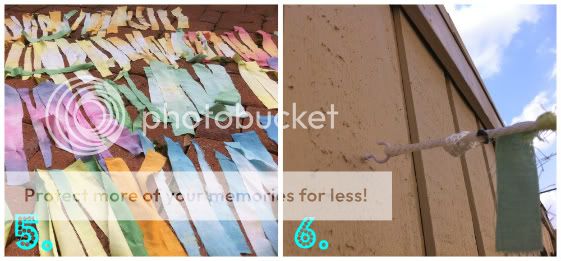
5.) once you have all of your fabric dyed and rinsed in cold water (to set the dye) hang your strips out to dry. when i did this it was very hot (as always) so i just laid mine out on the brick of my patio...they were dry in under an hour. Aren't those colors so pretty? Now all you have to do is tie them on to your clothesline with a square knot....i spaced mine about 2in from each other.
6.) put up some hooks with the screw threads on the end (i used a nail to make a pilot hole with). at one end of your line tie a looped knot and hook it. i zig-zaged my line across my patio......once i knew how long to make it i cut my line and tied another looped knot on the other end. (tip: if you use an acrylic clothesline, like i did, you should burn the cut ends so that it won't unravel itself - for natural fiber rope use some hot glue on the ends so it won't unravel).
 |
| yes, i have knitta tagged my bike...i will finish one of these days |

isn't that fun? now if i want to have a patio party all i have to do is run some twinkle lights along my line for some great ambiance. for more fun with ombre dying check out an awesome DIY on Hontestly WTF - they do an ombre dye job on some denim shorts or my favorite stylist Kris from Glitter 'n Glue .
dont forget to share your pics!! i wanna see what you create

No comments:
Post a Comment